

When it comes to laying tiles, there are several variables to consider with your design: First, there’s the tiles themselves (their shape, their size, etc.). Next, you have to think deeper about the aesthetics, like their colour, the room’s colour palette, and their finishes. And, naturally, what comes after that is contemplating how the tiles will lay, and what sort of tile patterns will be used.
From herringbone to basket weave, tile patterns can vary depending on your current project, and it can be difficult knowing the best patterns to use and how to use them effectively. Here are some tips to help you with your tile patterning to ensure you have the most pleasing and cohesive designs.
Knowing Tile Patterns
Before getting into some helpful advice, it’s first helpful to know of a few popular tile patterns:
Subway/Running Bond/Brick: This design is one you would typically see used for brick walls. It sees the end of each tile lining up with the center of the tile above and below it to create a staggered effect. A similar style to this is the 1/3 Offset, which places tiles at 1/3 above and below as opposed to the center.
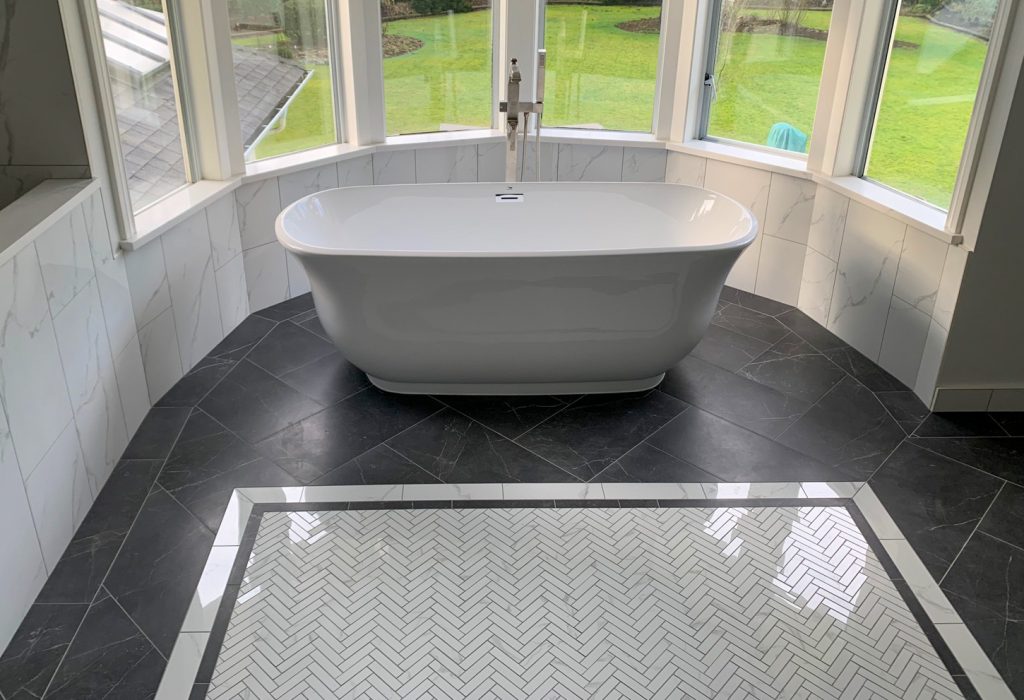
Herringbone: Herringbone requires rectangular tiles and sees them placed in V-shaped rows at 45-degree angles.
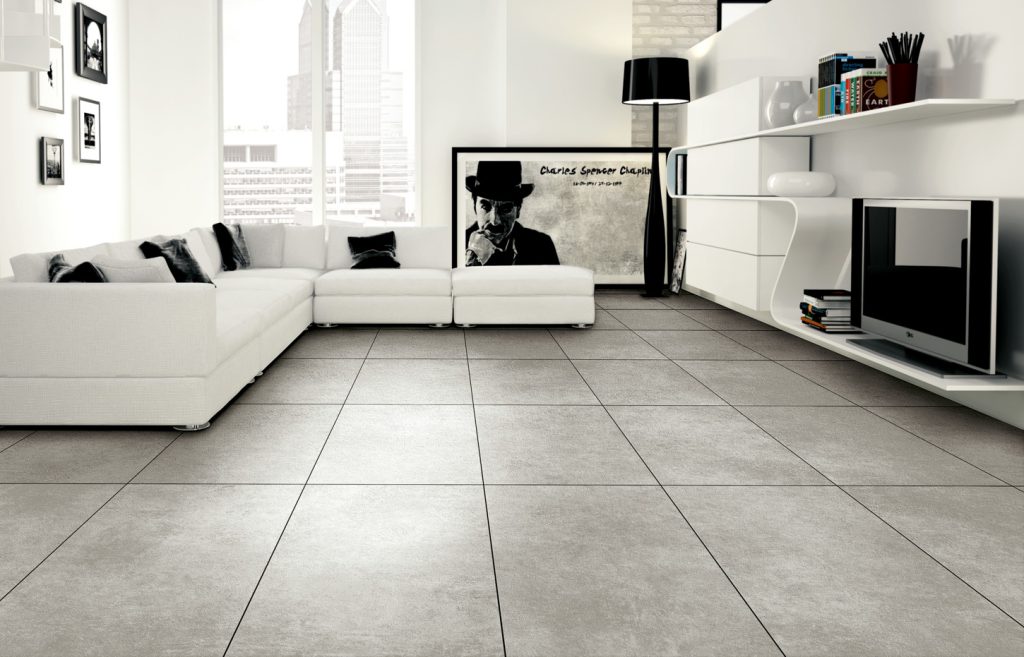
Grid/Stacked: Simply put, this pattern involves placing tiles perfectly in line with one another to simulate the appearance of a grid. Tiles can either be stacked horizontal or vertical.
Versailles: Also known as the French pattern, this style combines square and rectangular tiles of various sizes and organizes them in such a way to resemble a repeating design. It is certainly one of the more complicated patterns as it requires patterns with varying measurements — but ultimately, is worth it in the end.
Basket Weave: Reminiscent of a basket, tiles are laid in a way that simulates them going over and through one another.
Keep your Colour Palettes Concise
Given how alluring complicated tile patterns can be to the eyes, you want to ensure that you aren’t over stimulating your guests by projecting too much flashiness at them. While in some cases this type of aesthetic could work (especially if you’re a fan of mixing and matching colours), you’ll want to be a bit conservative with your colour palette if you’re choosing to use different patterns in one area.
If you want a little more excitement while still maintaining colour concision, you may want to consider:
1. Mixing the finishes of certain tiles (matte, glossy, etc.)
2. The shapes (mixing hexagons with rectangles while keeping the colours within the same family)
3. The sizes (using smaller squares to accent larger rectangles)
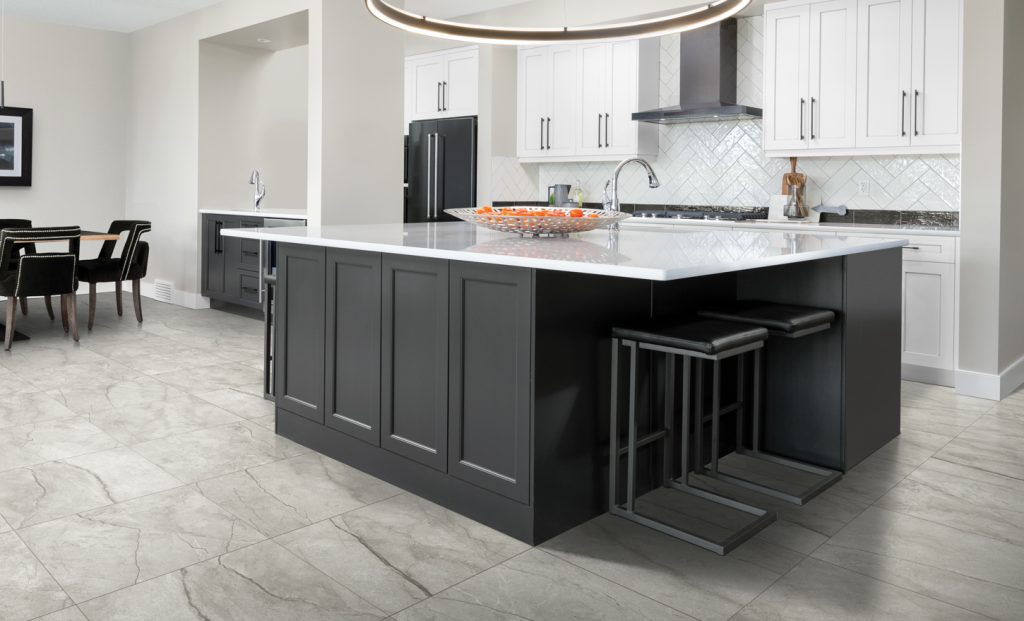
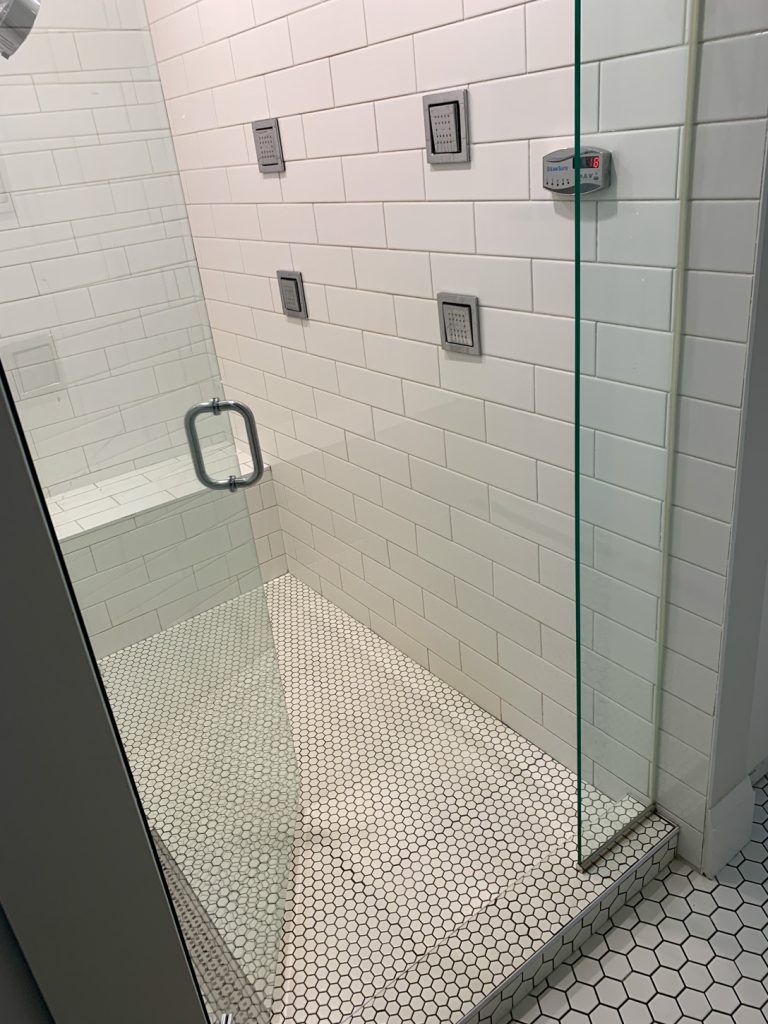
Using monochromatic colour schemes will also allow you to experiment with multiple tile patterns. The obvious example here would be using black and white tiles in different patterns: your bathroom floor tiles could be black tiles (like our Flux Coke 12X24 Matte Rectified Porcelain Tile) in a grid, while your shower tiles could be white tiles (like our Lumiere White 3X6 Gloss Ceramic Subway Tile) in a herringbone pattern to give your bathroom a chique, modern vibe.
Manipulate the Eye with Orientation
If you have a room that you want to appear longer, or a shower you want to feel wider, tile patterns are a great way to trick the eye into believing that your rooms have changed shape.
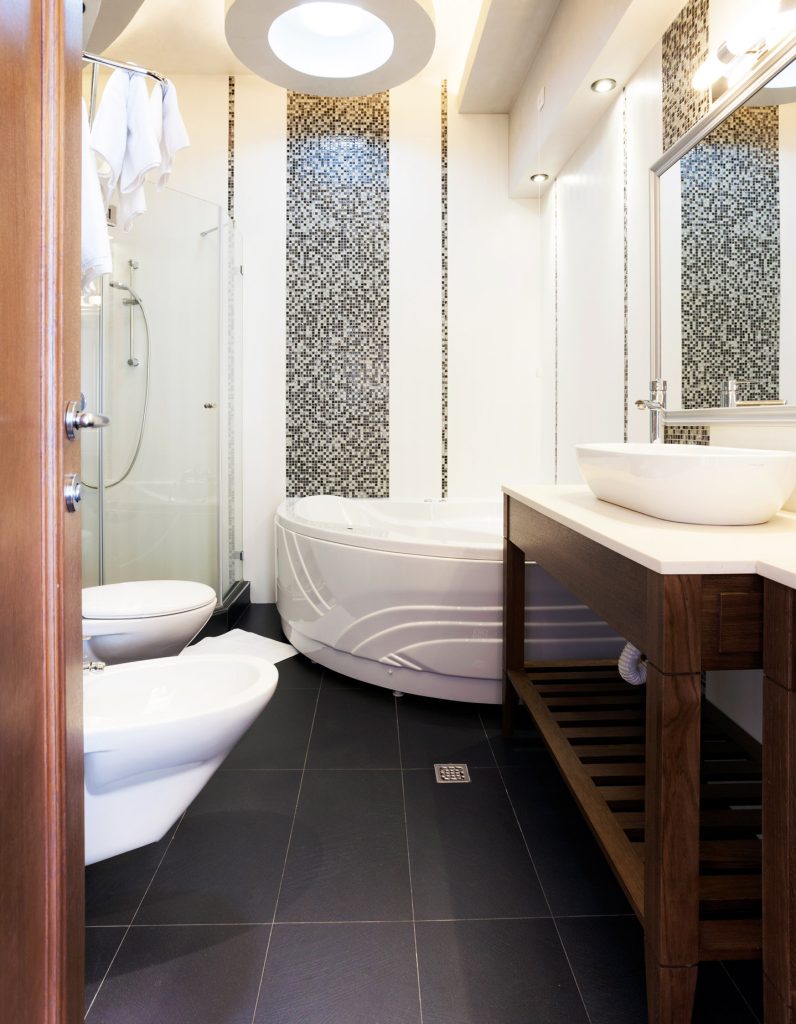
For room size, floor tiles (such as our Grey Soul Mid 12X24 Matte Rectified Porcelain Tile) can help elongate your room by being placed in a grid pattern oriented lengthwise from the door.
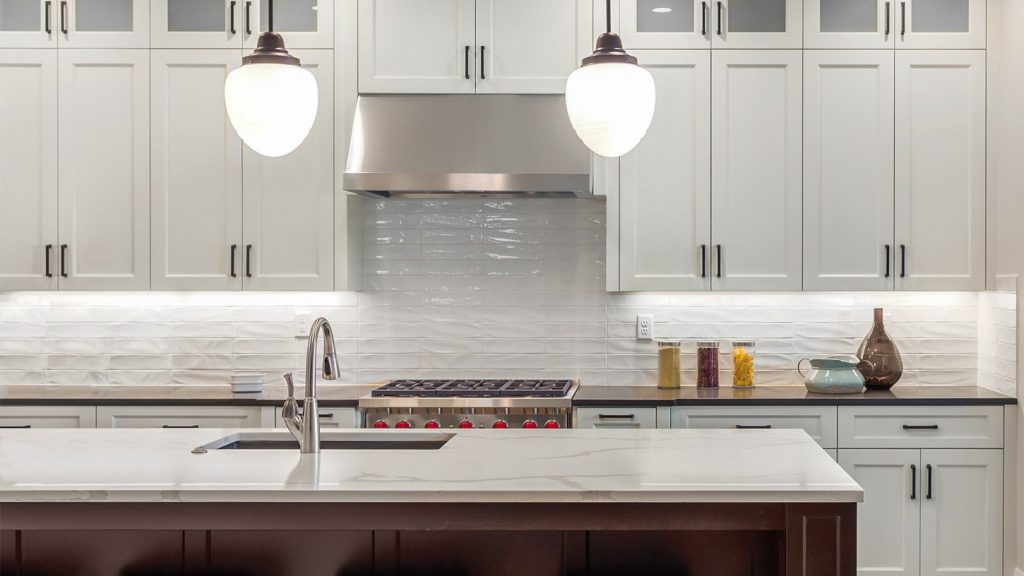
When attempting this trick on backsplashes or accent walls, longer rectangular tiles, such as those featured in our new Teramoda series or Lume series, would work wonders on achieving that lengthened, taller technique.
(For more tips and tricks on room size, read the blog post we wrote on choosing tiles based on room size.)
Use Patterns to Play Off of Each Other
We previously touched on using a colours to allow freedom with coexisting tile patterns, but let’s go deeper into using patterns to accent each other. This technique can be seen in accent walls (which you can learn more about by reading our blog post on them) that place plain tiles next to more complicated or flashy tiles to make the desired tiles pop more.
So long as you’re not overwhelming a space with patterns, you have lots of freedom in experimenting with your designs. (And feel free to check out our Instagram for some design inspiration!) At most, you’ll want no more than three patterns in one space, as adding any more than that can become overwhelming.
Let’s say you have a backsplash in a running bond pattern. You could accent the wall by placing a herringbone pattern somewhere in the middle to capture some attention and give dimension to the ordinary single-pattern backsplash.
To better help you visualize these tile patterns, try using Tile Town’s exclusive Visualizer Tool, which allows you to pick and drop our different tiles and place them in pre-existing rooms, your way.

So long as you’re not overwhelming a space with patterns, you have lots of freedom in experimenting with your designs.
